 |
| |
|
|
 |
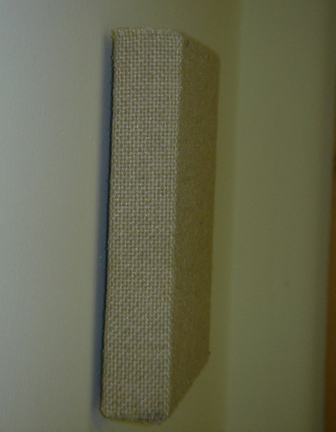
NOISE S.T.O.P. FABRISORB™
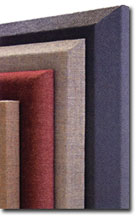
Decorative Fabric Wrapped Custom Acoustical Wall Panels
- High Performance
- Architecturally Decorative
- Custom Engineered & Manufactured
- Reduced Noise & Reverberation
- 100% Custom Colors and Sizes
|
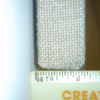
MATERIAL: 6 lb. density glass fiber with woven fabric and microperforated vinyl facings.
PATTERN: Flat faced with square or radiused corners, beveled, radiused or mitered edges.
FEATURES: Custom designed and manufactured to meet every need. Flat or curved panels. Soft or hard edges
APPLICATIONS: Offices, schools, meeting rooms, music rooms, hotels, auditoriums, recording studios, broadcasting studios. Any space where good speech privacy or speech intelligibility is important.
THICKNESS: 1″, 1-1/8″, 2″, 2-1/8″
SIZES: Custom Up to 4′ × 10′
COLORS: A wide range of woven fabrics and perforated vinyls.
FLAMMABILITY: ASTM E-84, Class A. – Flame Spread = 15; Smoke Developed = 40
INSTALLATION: Adhesive, Hook & Loop Fasteners, Mechanical Clips, Impaling Clips, magnetic clips, splines.
Note: If using E.C. clips to mount these panels to the ceiling, the installer must use construciton adhesive on each clip so the clips do not slide apart. It is also advised to toe-nail the panel into place, or use trim around the perimeter to make sure that the clips adhere together correctly. |
 |
 |
 |
 |
 |
ABSORPTIVE
High performance absorption. |
HIGH IMPACT
Absorptive in high traffic areas. |
REFLECTIVE
For combined use in Studios for absorption and reflection. |
MINERAL CORE
Multi-purpose panel for absorption and sound blocking. |
ABUSE RESISTANT
For gymnasiums, absorption and abuse resistance. |
 |
 |
 |
 |
|
TACKABLE 1
For long lasting and effective tackability. |
HI-TACK
High absorption and tackability |
Tackability 2
Tackability where sound absorption is not necessary. |
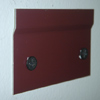
NOISE BARRIER
Barricade vinyl barrier, ideal for areas requiring high STC. |
|
FABRISORB™ WALL PANEL – Sound Absorption Coefficients
| 7 PCF Glass Fiber |
125Hz |
250Hz |
500Hz |
1KHz |
2KHz |
4KHz |
NRC |
| 1″ |
.14 |
.27 |
.80 |
1.11 |
1.14 |
1.14 |
.85 |
| 2″ |
.22 |
.81 |
1.24 |
1.30 |
1.21 |
1.16 |
1.15 |
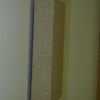
EDGE DETAILS
 |
 |
 |
 |
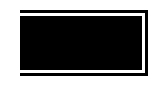
| Square |
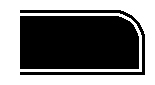
Radius |
Bevel |
Half Bevel |
|
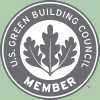
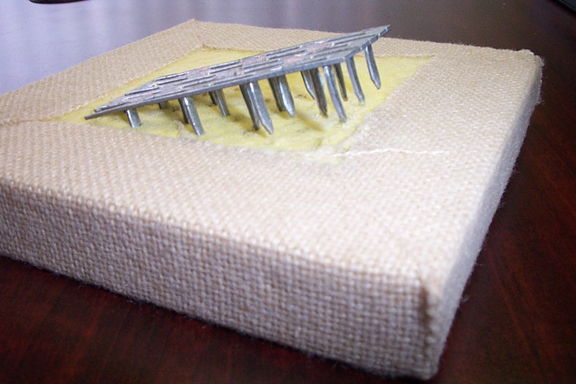
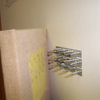
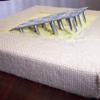
Impaling Clips:
Note: In the pictures below, the adhesive necessary for permanent installation is not shown. Put a bead of PSA-29 panel adhesive around the perimeter of the back of the panel – approx ¼″ bead, as well as a few locations on the back of the panel that will touch the wall between the impaling clips.
 |
 |
 |
 |
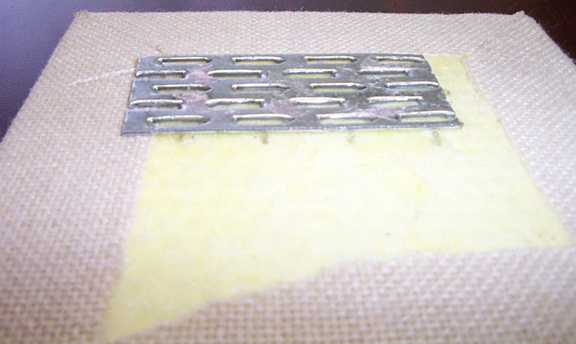
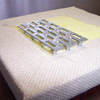
| Glue or screw impaling clip to the wall and allow to dry completely. |
Align panel and impaling clips so that impaling clip touches the fiberglass rather than the fabric wrapped around the back of the panel. |
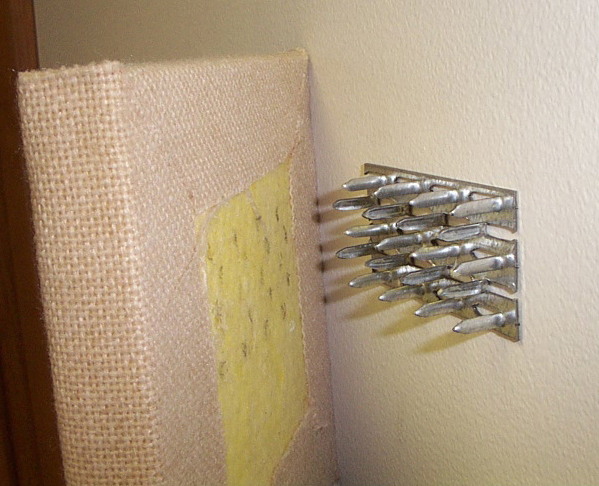
Begin to press impaling clips into the back of the panel. |
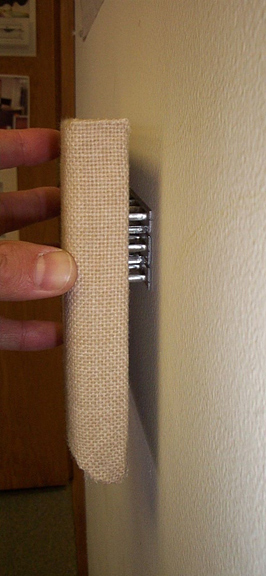
Press panel all the way onto the impaling clip so the panel is touching the wall making sure that the panel is pressed completely on to each of the impaling clips. |
 |
 |
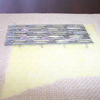 |
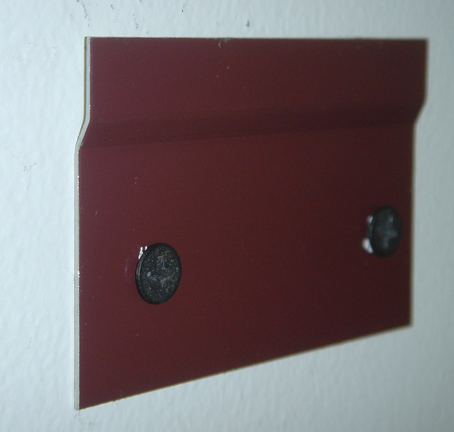
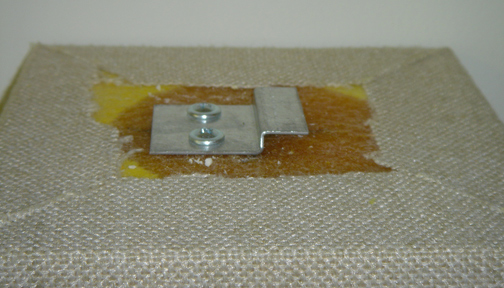
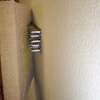
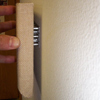
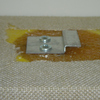
Mechanical Clips (ie. E.C. Clips/E.Z. Clips)
 |
 |
 |
 |
| Wall bars attaches to wall with standard screws provided by others. |
The panel clip will be screwed into hardened epoxy spots on the backs of the panels. |
Please note that due to the clips there will be a small space between the structure and the panel. |
|
|
<< Back |
|
|